
目次
この作業が必要になった経緯
顧客トラブル等に必要になったため
前提と環境
- Windows 10 / 11
- NVIDIA RTX3070
- Intel Core i7 第12世代
- 管理者権限あり
- PowerShell 7を実行可能(Hyper.js使用)
やり方
1.Pythonをダウンロード/インストール
winget install -e --id Python.Python.3.122.仮想環境の作成
python -m venv whisper-env //仮想環境作成
whisper-env\Scripts\activate //アクティブ
3.pipとsetuptoolのアップグレード
pip install --upgrade pip setuptools //setuptoolのアプデ4.Whisperのインストール
pip install openai-whisper5.エディタで下記を[python transcribe.py]という名前で保存
import whisper

# Whisperモデルの読み込み
print("Loading model...")
model = whisper.load_model("base")

# 音声ファイルの書き起こし
print("Transcribing audio file...")
result = model.transcribe(r"C:\Users\owner\Documents\hoge.m4a", language="Japanese")

# 書き起こし結果の表示
print("Transcription complete:")
print(result["text"])
▼音声ファイル名に「書き起こし」を末尾に加えたテキストファイルに書き起こし結果を出力するようにスクリプト
import whisper
import os

# Whisperモデルの読み込み
print("Loading model...")
model = whisper.load_model("base")

# 音声ファイルのパス
audio_file_path = r"C:\\Users\\owner\\Documents\\hoge.m4a"

# 音声ファイルの書き起こし
print("Transcribing audio file...")
result = model.transcribe(audio_file_path, language="Japanese")

# 書き起こし結果の表示
transcription_text = result["text"]
print("Transcription complete:")
print(transcription_text)

# 音声ファイル名から拡張子を除去してテキストファイル名を作成し、末尾に「書き起こし」を加える
base_name = os.path.splitext(os.path.basename(audio_file_path))[0]
output_file_name = f"{base_name}_書き起こし.txt"

# 書き起こし結果をテキストファイルに保存
with open(output_file_name, 'w', encoding='utf-8') as file:
    file.write(transcription_text)

print(f"The transcription has been successfully written to {output_file_name}")
6.ffmpegをインストール
winget install ffmpegffmpeg -version7.仮想環境下で実行
python transcribe.py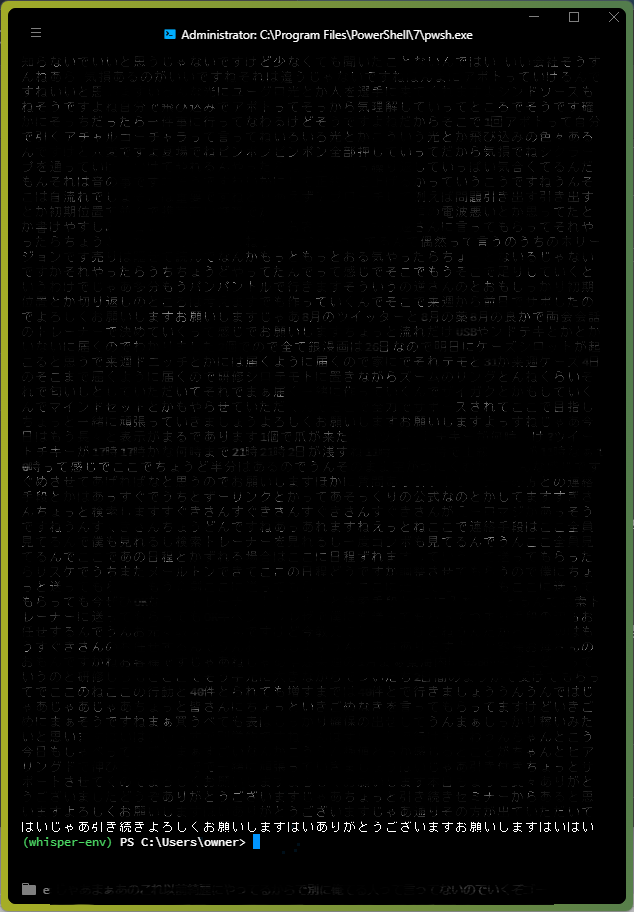
コメント